Contents
How Do You Lay Geotextile Fabric? Geotextiles Install Guide
Struggling with geotextile fabric installation? I empathize! As a seasoned construction professional, I’ve mastered the complexities involved in geotextile installation.
Understand that effective installation paves the way for getting optimal benefits from any geotextile fabric. In this post, we will guide you through crucial factors to consider during geotextile fabric installation. These include site readiness, fabric selection suitable for your project, and secure installation methods.
Let’s delve deeper into the proper process of laying geotextile fabric!
Steps to Lay Geotextile Fabric
Here are the steps for geotextile fabric installation: First, prepare the area. Next, orient the fabric correctly. Then, secure it using staples or spikes. Finally, add a base material over it.
Step 1: Get the Installation Area Ready
Preparing the area where you’ll install the geotextile fabric plays a pivotal role in the project’s success. It involves removing trees, rocks, and other potential obstructions before laying the fabric.
Prepare the installation area
This process ensures a uniform surface, optimizing the fabric’s coverage and effectiveness. Overlooking this step can lead to fabric displacement or sagging, weakening its barrier capabilities and demanding more maintenance.
Also, consider using leveling tools like rakes or shovels for a smooth base, ensuring optimal water drainage and preventing puddle formation.
It’s beneficial to have the right tools, like scissors or cutting knives, ready for a smooth installation process and to avoid wastage due to inaccurate pre-cutting measurements.
Finally, don’t forget to review local geotextile regulations. Certain municipalities stipulate specific rules on the type, placement, and coverage required for construction projects.
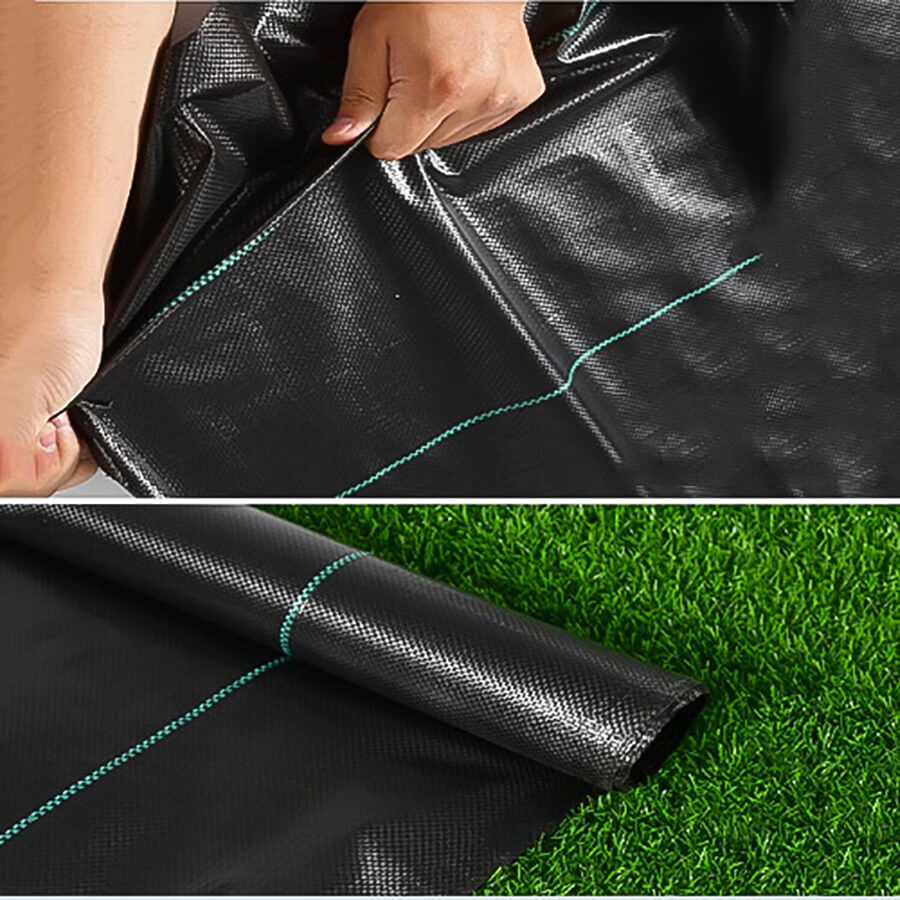
Step 2: Position the Geotextile Fabric Correctly
During the installation of geotextile fabric, correct orientation is crucial. It ensures the fabric’s optimal performance and effectiveness for various applications.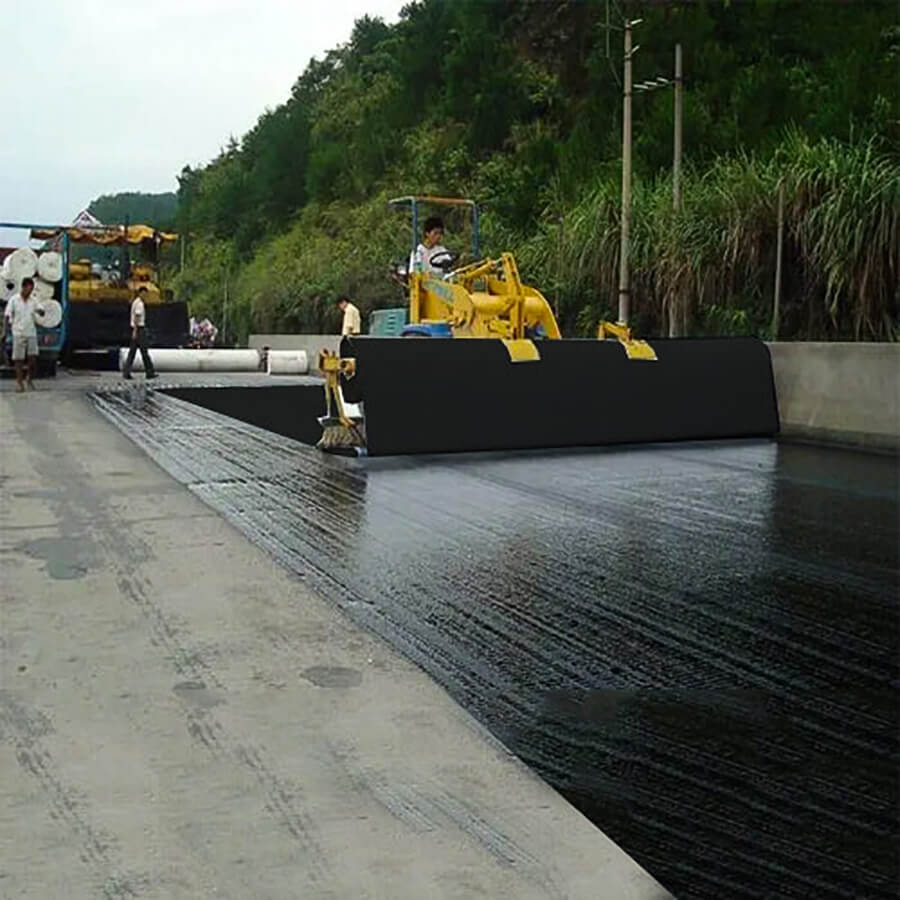
Lay the geotextile fabric in the correct direction
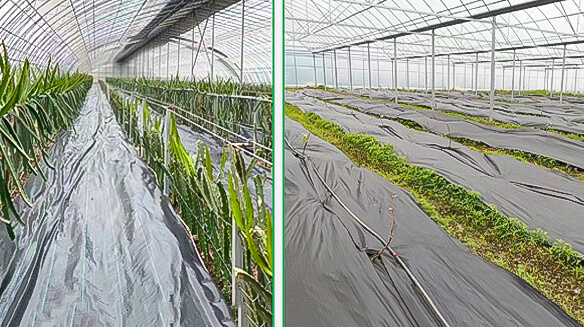
For example, during pavement base course construction in Texas, you should align the geotextiles with the construction traffic direction. This alignment prevents excessive movement and water pooling effects.
When you use geotextiles for soil erosion control or slope reinforcement, align them parallel to the upslope. It helps them withstand surface runoff pressure from rainfall and downhill water flow.
Correct fabric orientation also mitigates improper drainage patterns that could lead to severe damage. These include bank failure resulting from seepage pressures caused by moisture accumulation behind structures.
Step 3: Fasten the Fabric Using Staples or Spikes
Fastening the geotextile fabric with staples or spikes is a crucial part of the installation. It helps maintain the fabric’s position over time, ensuring it doesn’t shift, move, or separate. Additionally, it bolsters surface stability and curbs erosion.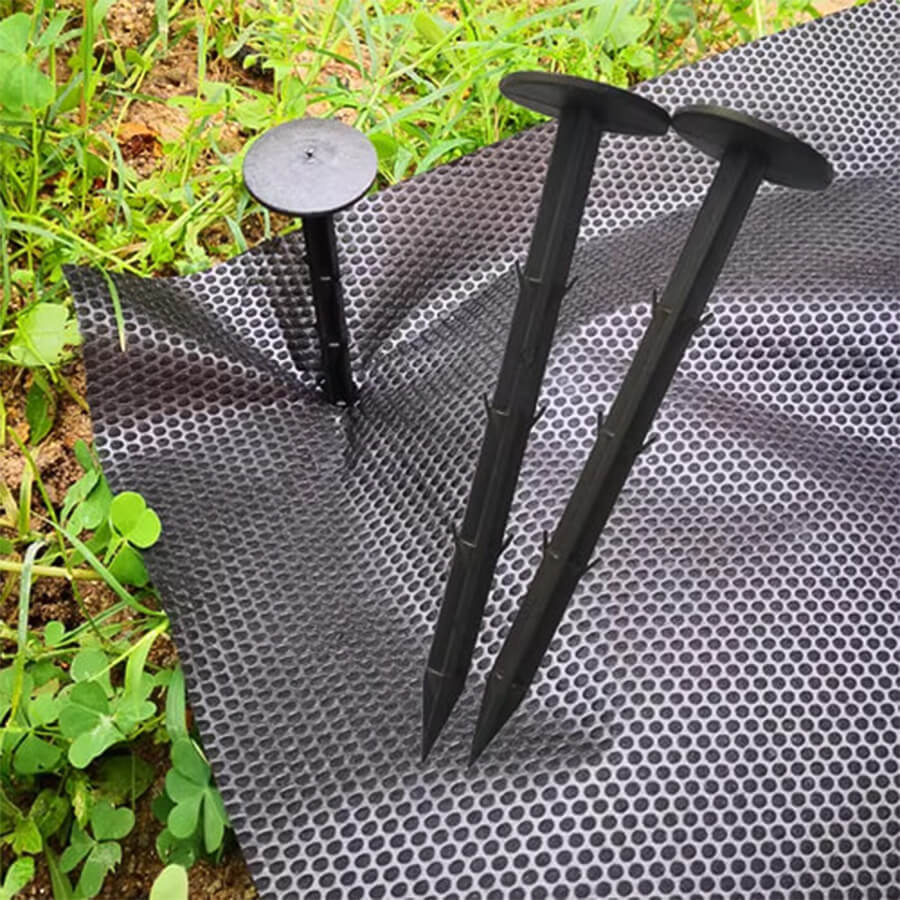
Secure the plastic spike nail into the weak soft ground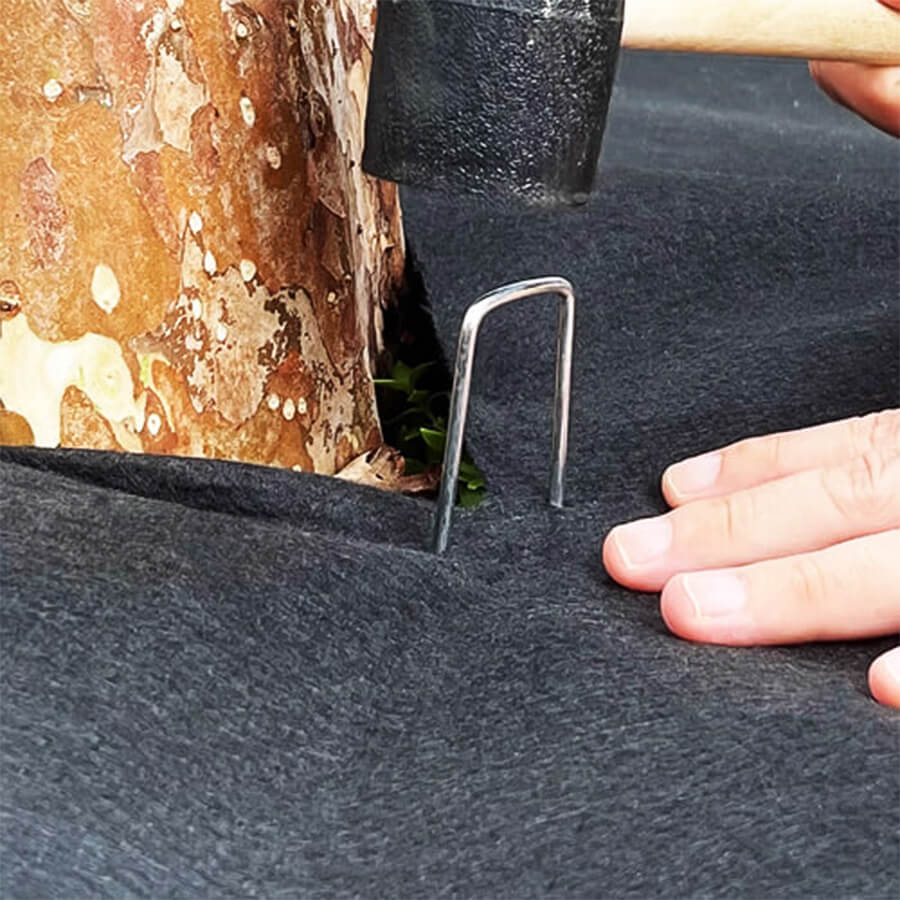
Drive a metal nail into the hard ground
To fasten the fabric effectively, you typically use standard 6-inch landscape staples or pins. Place these at each edge and overlap the area of the material. Driving the stakes into existing soil helps them stay put and spreading them evenly across the areas enhances stability.
Apart from stapling or pinning the edges and overlaps, you can employ other methods. These include using soil or adjacent materials for added reinforcement against shifts.
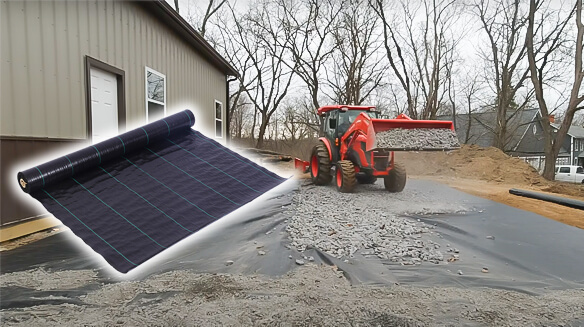
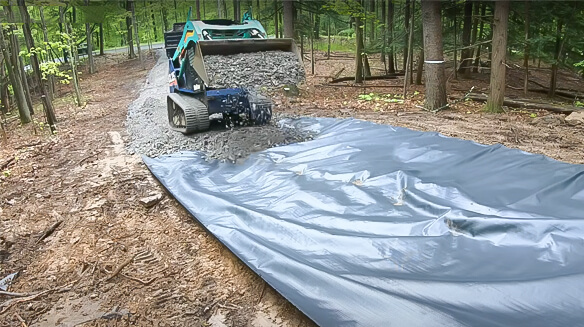
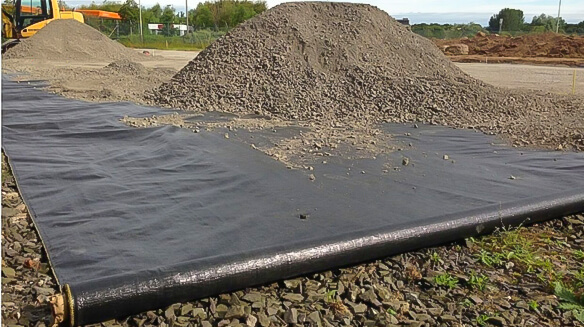
Step 4: Apply and Distribute Base Material over the Fabric
Installing geotextiles forms a crucial part of landscaping or erosion control projects. A critical subsequent step is applying and distributing the base material. The right base material enhances drainage, minimizes water pooling, boosts stability, and curbs soil erosion over time.
Base materials can vary, with common options like gravel, stone dust, sand, and decomposed granite. Each offers unique benefits tailored to your specific requirements. This step also shapes edges, forming a boundary for grass seeds, and protecting them from weed competition.
Additionally, this layer bolsters the fabric, adding weight to secure it and prevent shifts or wind damage. When distributing the base material, ensure accurate coverage width, and thickness, and prevent clumping for an even spread. Such care is pivotal for achieving optimal geotextile installation results.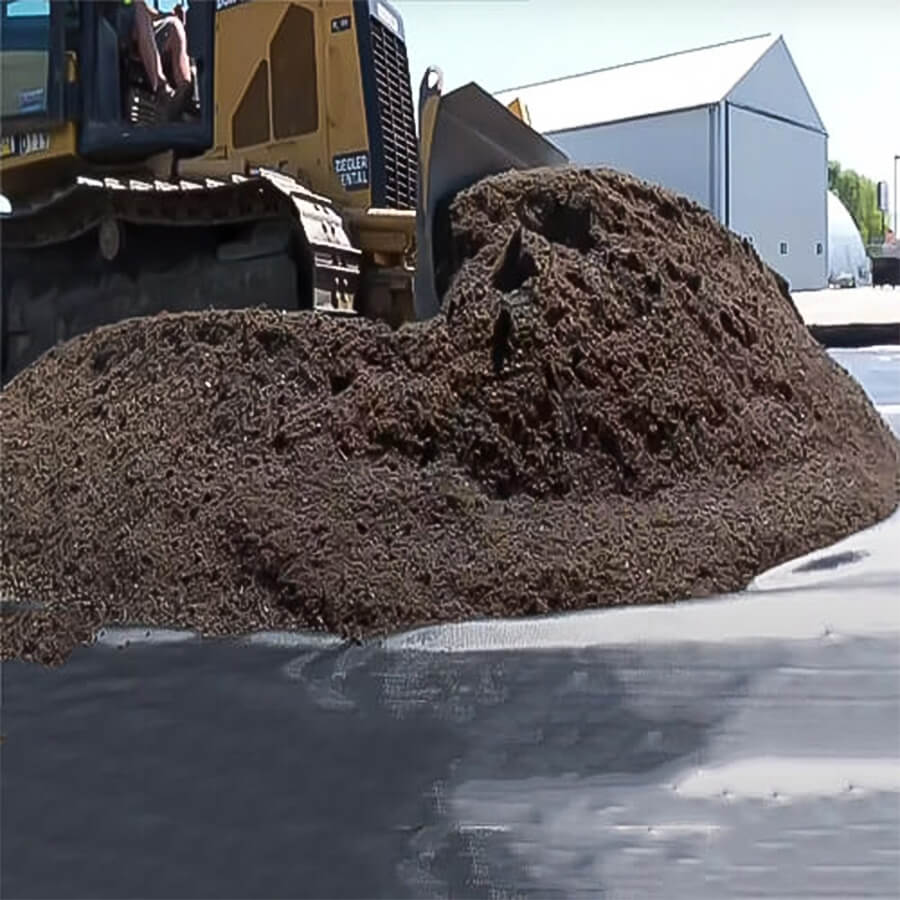
Add and spread the base material on top of the fabric
Tips and Best Practices for Geotextile Installation
Utilizing the right type and installation technique of geotextile fabric can ensure a lasting structure. Read on to find out more!
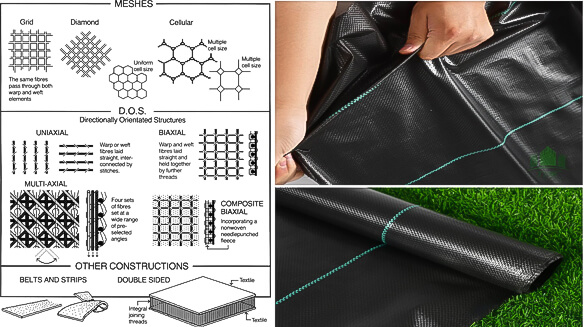
Choosing the right type of geotextile fabric
When choosing the ideal geotextile fabric for an application, you should consider factors like required strength and permeability. Depending on these needs, you can opt for either woven or non-woven fabric.
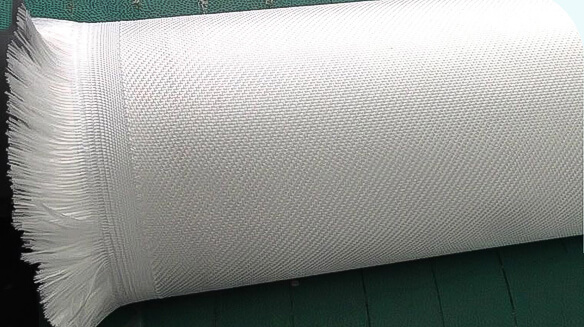
Woven fabrics, with their interlocked strands under high tension, offer excellent tensile properties. They excel in retaining large particles, preventing soil erosion effectively. On the other hand, non-woven materials provide greater flexibility. Their open mesh structure affords higher permeability and superior filtration compared to most woven fabrics.
Furthermore, non-woven fabric typically outlasts woven, as it has fewer seams that could deteriorate over time due to wear and tear. In the end, the right geotextile fabric balances filtering capabilities and the open area each granule layer needs. This balance ensures proper particle separation doesn’t happen after heavy rainfalls or floods. It aids in preventing soil loss due to water runoff or environmental changes like strong winds.
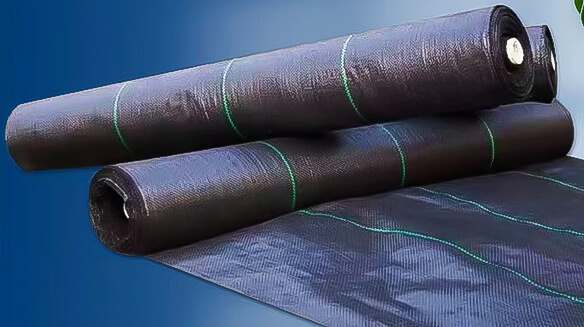
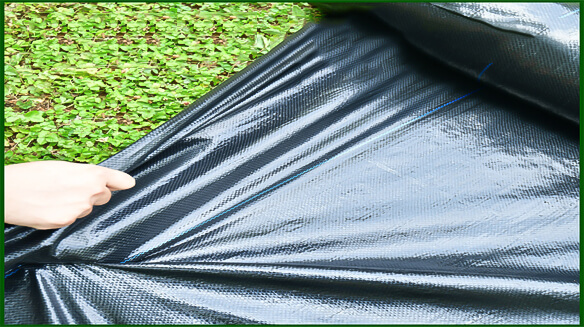
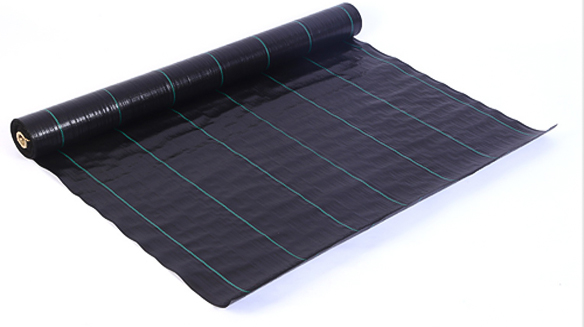
 woven geotextile
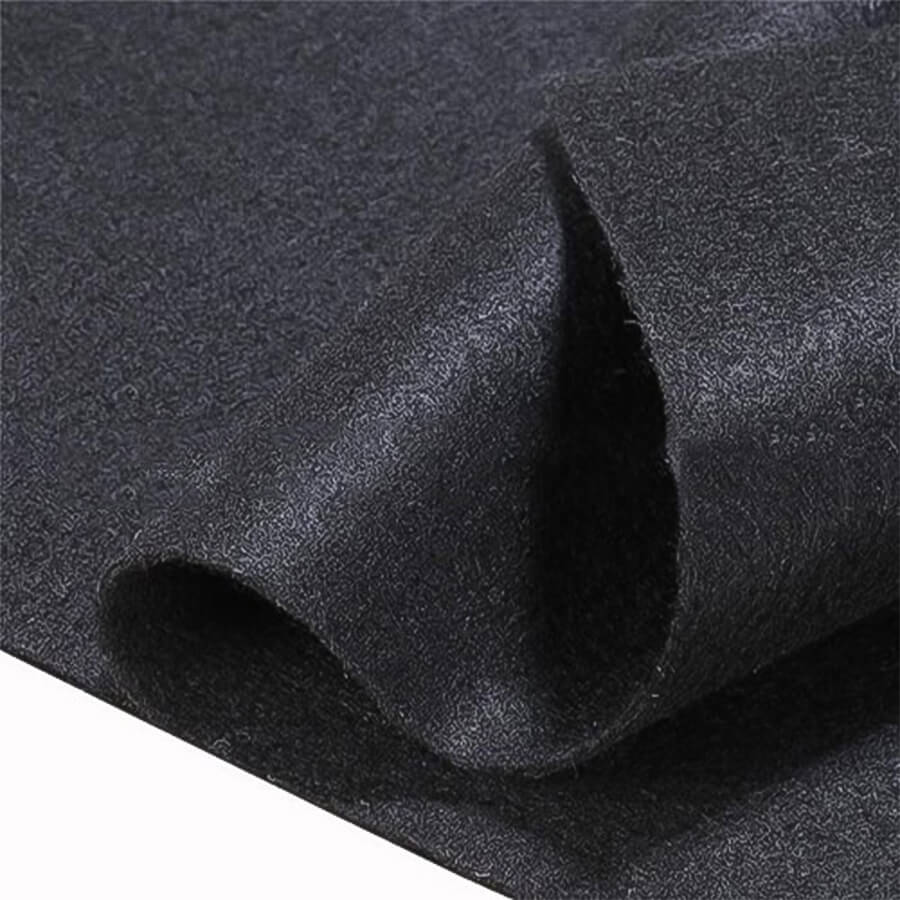
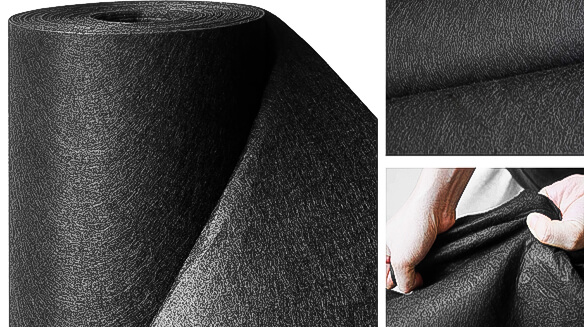
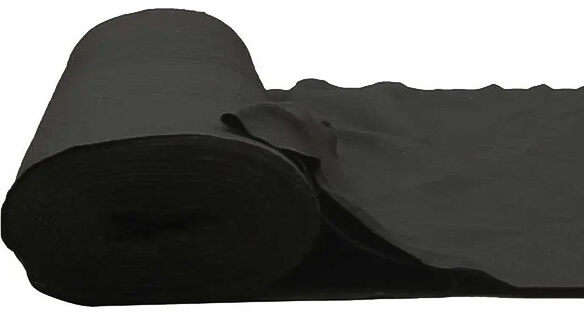
non-woven geotextile
Cutting and preparing the fabric for installation
Preparation of the fabric for installation is a crucial part of the process. Prior to cutting, ensure you have the right material for your project. The suitable geotextile fabric type depends on the project’s location and purpose, so thorough research is paramount before you begin.
Next, mark the cutting points with chalk or other markers. Use sharp scissors or shears for cutting the desired shape. Depending on the fabric choice, you could also use razor knives.
Precision in this step is vital as any extra fabric will need trimming during stitching. Creating an even surface could prove challenging if parts are unevenly sized or not cut according to standard measurements.
Tools designed specifically for fabric work, such as spiked rollers, are recommended. These help define edges and prevent slippage when the fabric is laid over ground levels. They also aid in securing stitches when laying out long pieces for larger-scale projects.
portable sewing machine
Ensuring proper overlap and sewing techniques
During geotextile fabric installation, correct overlapping and sewing methods are vital for its efficacy. The right overlap prevents the mixture of aggregate or subsoil, maintaining the fabric’s function. It also helps avert rips and tears caused by ground shifts.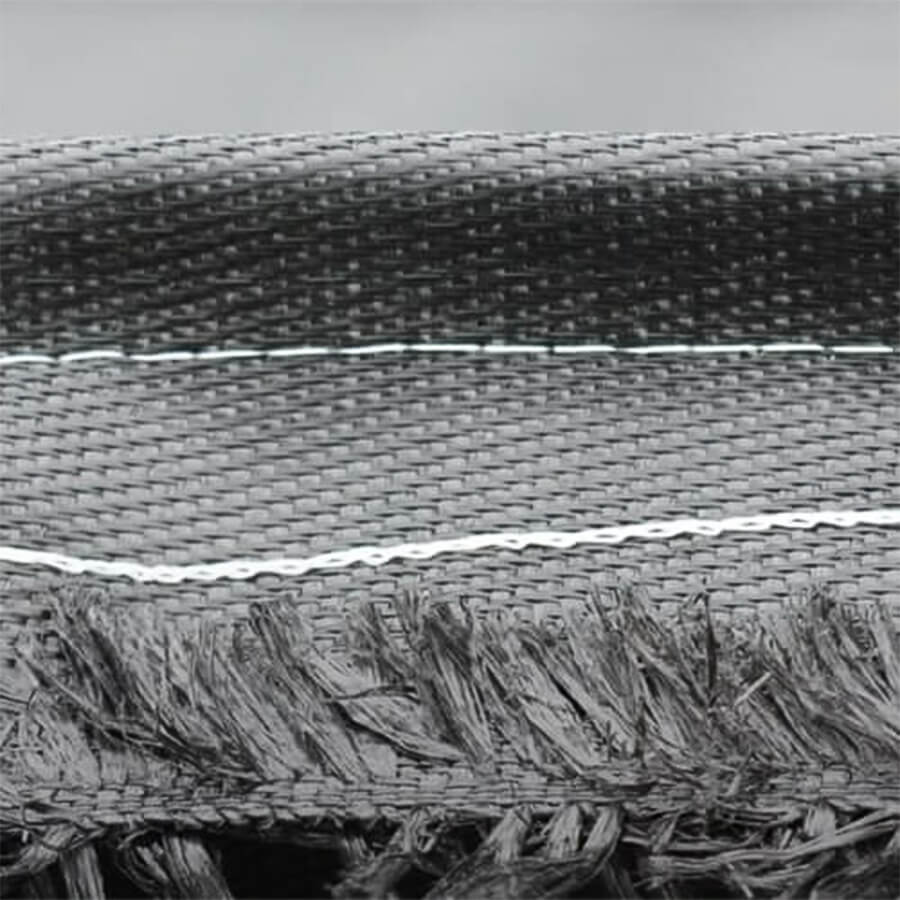
Fold the edge 10cm 2 sheets of geotextile together then sew in place with 2 seams
The American Association of State Highway and Transportation Officials (AASHTO) offers guidelines for determining minimum overlap requirements based on subgrade strength. The specifications vary, but they typically require an extra 1-2 feet beyond a straight line cut between adjacent fabric pieces.
Fabric joining involves stitching them together, either with broad stitches or specific machines designed for this task. According to Fibertex Geotextiles’ application guide for permeable separation layers in pavements, manufacturers have developed fabrics “designed specifically to enhance coupling”.
Each manufacturer’s technical manual provides more details and guidance on installation techniques. They also offer advice about the selection of reinforcement geotextile types needed for specific applications like behind retaining walls, beach erosion prevention, or under gravel/asphalt surface material.
Properly securing the fabric to prevent shifting or damage
Securing the geotextile fabric correctly is crucial for its installation. It ensures the fabric effectively performs its intended roles of sediment control, erosion control, or subgrade stabilization, and enhances its lifespan.
Improper securing can cause the fabric to shift, move, bubble, or slip from its initial position, resulting in damage to the supported project. To properly prepare for installation and achieve cost-effective results, anchoring the geotextile securely during backfilling activities, like gravel driveways and ditches, is vital. You can achieve this by pinning or weighing down the geotextile.
By using staples or spikes in conjunction with riprap, you can further enhance the stability and limit movement. This also helps prevent damage caused by sandier fills, which can creep underneath woven fabrics.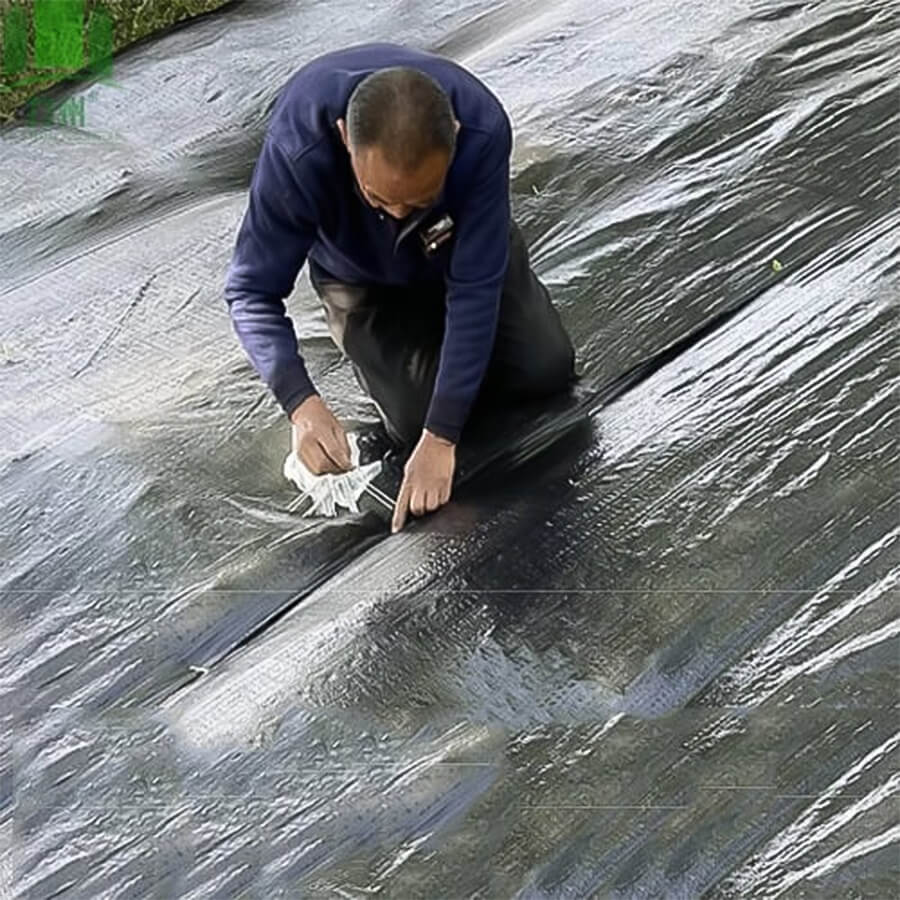
Properly securing the fabric to prevent shifting or damage
Benefits of Using Geotextile Fabric for Erosion Control and Stability
Geotextile fabric aids in safeguarding against demanding erosion control projects. It shields slopes from water and soil movement, enhances drainage, and boosts surface stability.
Prevents soil erosion and loss
Geotextile fabric serves as a flexible and versatile solution to prevent soil erosion and loss. It’s used in various scenarios: from roads and highways subjected to severe weather, lakeside properties prone to wave-driven erosion, to steep slopes drenched in rainwater. Essentially, geotextile fabric is a go-to option in any area requiring soil erosion prevention measures.
Increases the stability and lifespan of the surface
Installing geotextile fabric enhances the stability and longevity of any surface. Acting as a protective layer for soil erosion control, it stops particles from washing away or dispersing under heavy rains. In doing so, it safeguards and improves the existing terrain.
Reduces the need for maintenance and repairs
Geotextile fabric is a powerful tool for mitigating soil erosion and enhancing surface stability. It can result in significant cost savings by reducing the need for expensive repairs and maintenance over time. The fabric’s distinctive properties, including water permeability, strength, flexibility, UV resistance, durability, and its ability to adapt to uneven surfaces, collaborate to minimize soil loss from your site due to wind or water over time.
FAQs
1. What is geotextile fabric?
Geotextile fabrics are permeable non-woven materials typically used during construction projects as a means to separate, filter, or protect other layers that make up the structure’s foundation. They are designed to withstand environmental wear and tear while improving the soil’s ability to resist water infiltration when laid correctly.
2. How do I prepare for laying geotextile fabric?
Prior to installing, you should check for any debris on the surface such as stones, plants, or roots which should be removed before spreading the material out and using it in your project. It may also be helpful to keep nearby some extra pieces of geotextile in case repairs or patching is necessary later down the line when monitoring progress/comparing initial work with final results post-installation.
3. How thick does my geotextile need to be?
The ideal thickness of a geotextile layer depends upon various factors such as what type of application is being completed & area size but generally speaking – thicker materials will offer more protection against moisture from seeping below which can cause premature deterioration due to structural settlement issues (i.e., subsidence). As such, soil stabilization mixtures usually require heavier-duty products than landscaping jobs where thinner fabrics may suffice when properly secured along surfaces properly with silts (if applicable).